Papercraft Finale - Steam Shovel Tin Toy
STEAM SHOVEL PAPERCRAFT

Materials:
- Metallic dark red and silver scrapbooking papers
- Burgundy Prismacolor Pencil Crayon
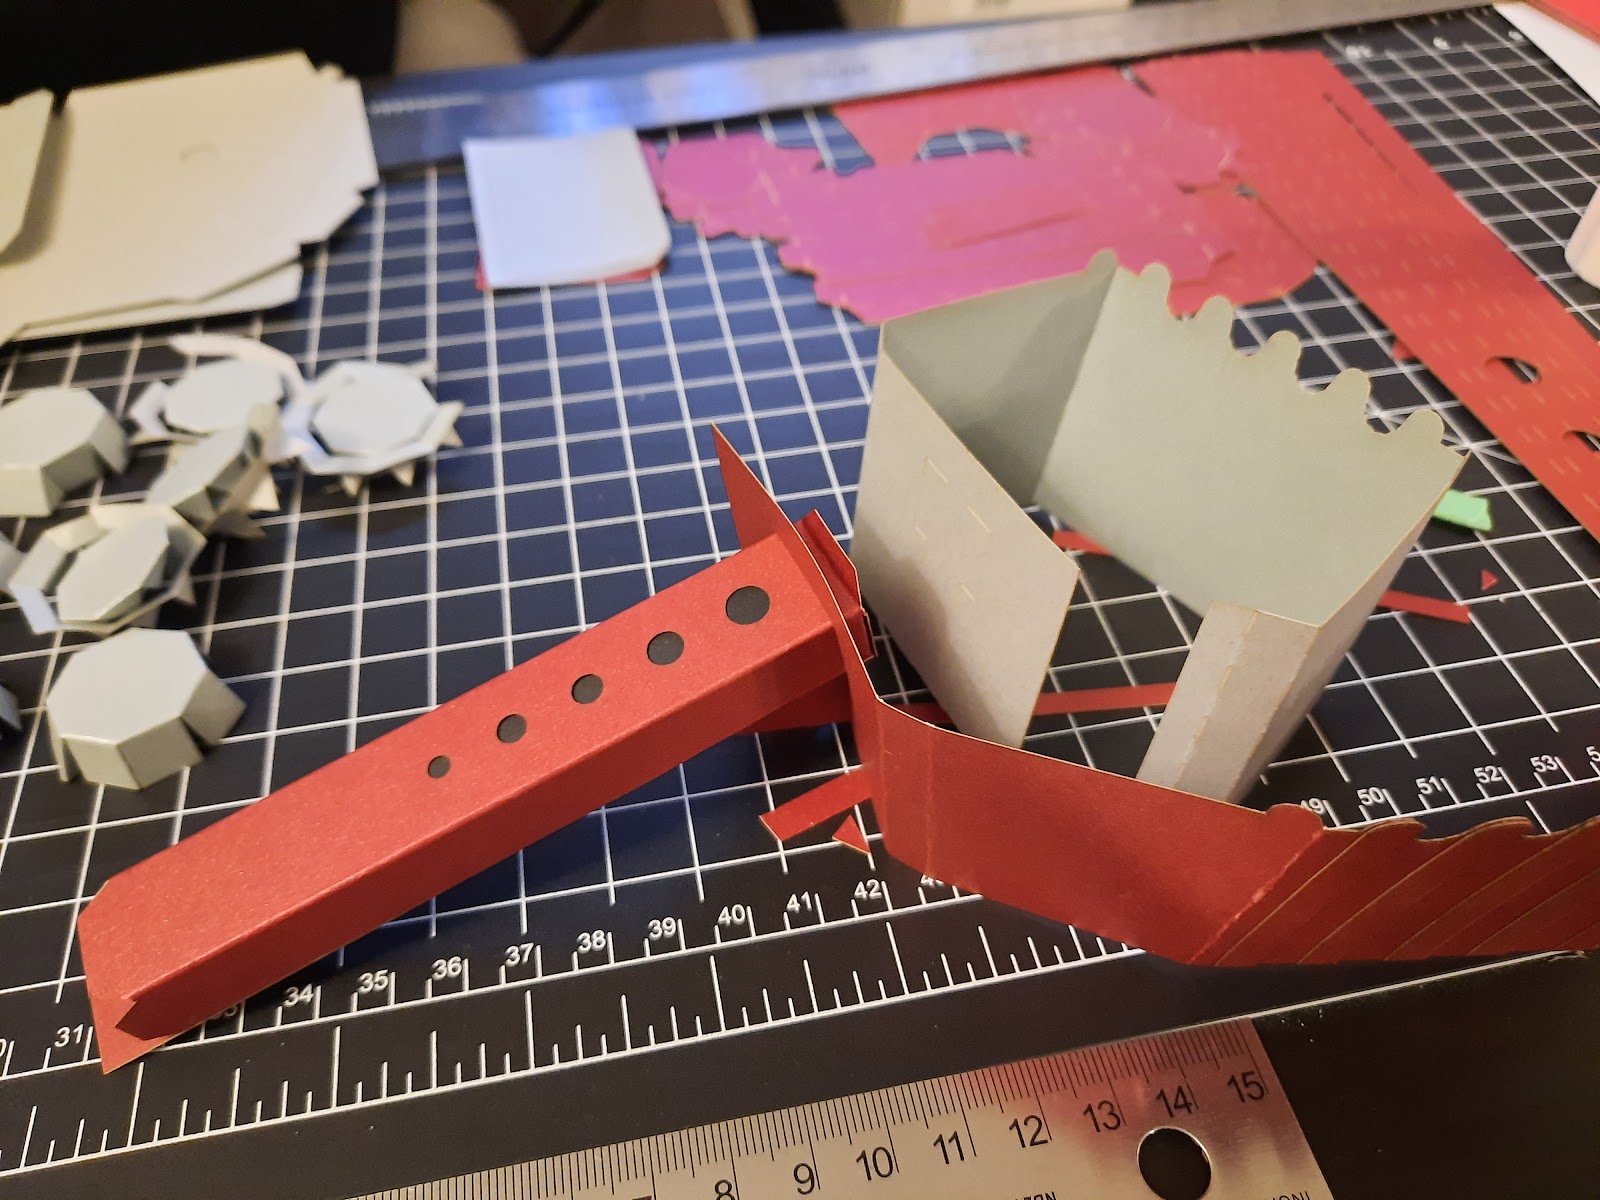
Laser Cutting Notes:


- For paper cutting projects remember to turn off the fan! A couple small components got blown around during cutting and sliced in half (still usable).
- Ran into a few spots where the scrapbook paper I chose had sales text printed on it, which ended up on the visible sides of the model components. Partly a formatting thing and partly a lesson in being more communicative about my needs with the technician.

- We tested cuts on a spare piece of paper and adjusted the score lines to be 20% deeper

Notes During Assemblage:
- Ran into spots where I should have tested using two layers of paper more and the outer layers started to crack.

- Even though my goal for this model was a roughly realistic 1:1 replica of the tin toy it was based on, I wish I had increased the size more in the end. Especially for fiddly components like the wheels.

Things That Worked:
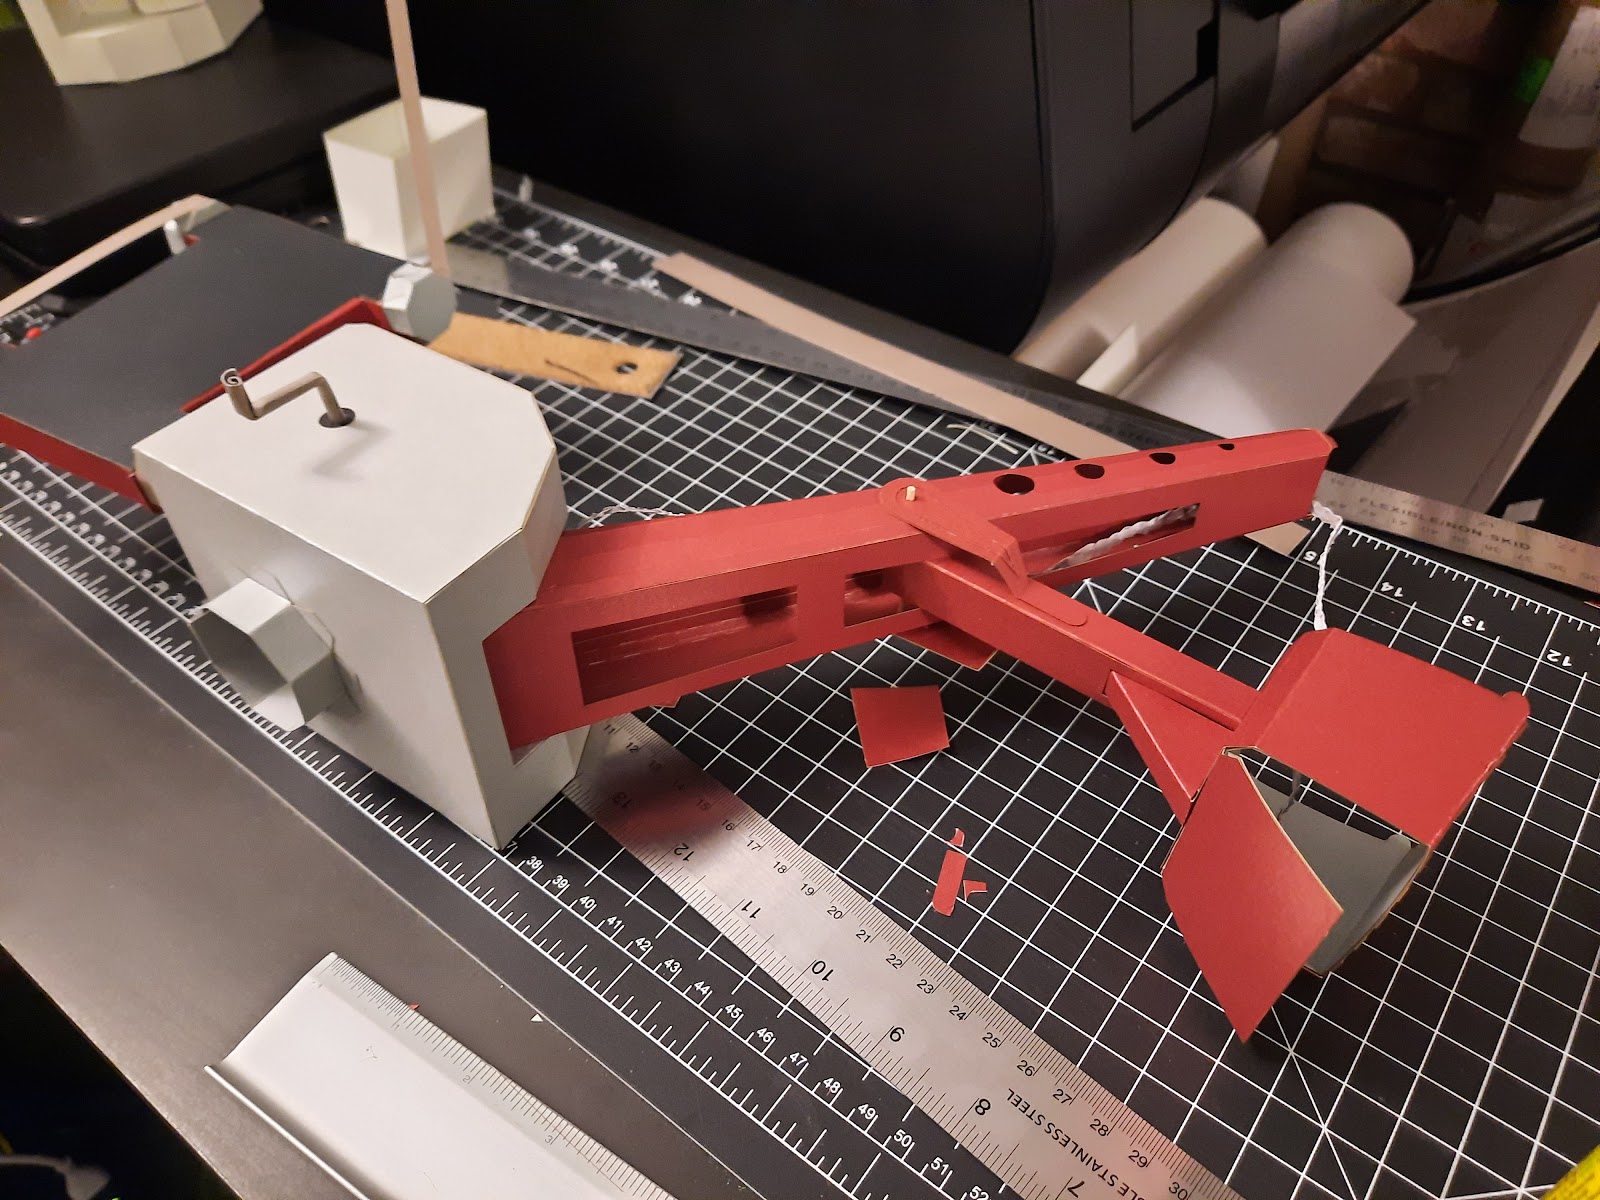
- I accepted the challenge of finding a way to make the chain out of paper/non-metal elements, choosing to braid thin pieces of a metallic-print floral paper together to create the appearance of tarnished metal loops. It was thicker than hoped but I felt like I was exploring the medium with a bolder approach.

- Despite being time consuming to model and make, I was proud of areas of subtle form modelling, like on the neck of the crane and base.

- The laser cutter was great for linear detail and I found a few spots to apply topical textures with components that were barely thick enough to exist.
- Made a working crank mechanism

Things That Fell Short:
- Even though I used paper for the chain, I ended up cheating with materials in two other spots. One, I used a toothpick to secure the neck joint, covering up a failure to model an attachment point. Two, I hid pockets of rice in the body of the crane to offset balancing issues. Short of significant redesigns to compensate for the weight, or maybe more hidden layers of paper in the base, I couldn't think of a quicker fix.

- I lost quite a bit of time to modelling those subtler forms, especially on the base where that work doesn't necessarily show well. I wish I had spent more time on adding surface details and modelling the treads/tires - details that would have made the paper model more authentic.

Final Model


Total time: Around 8-12 hours of assembly time


Comments
Post a Comment